Need help? Text us.
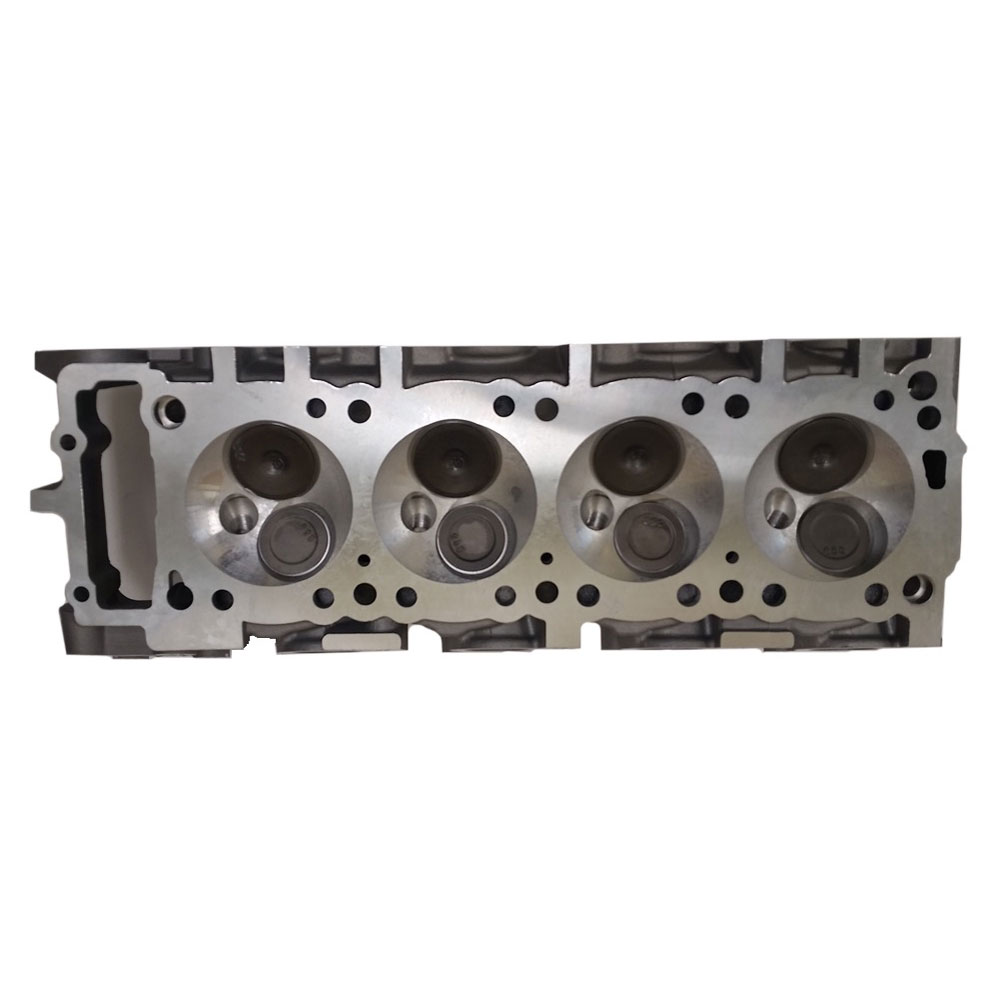
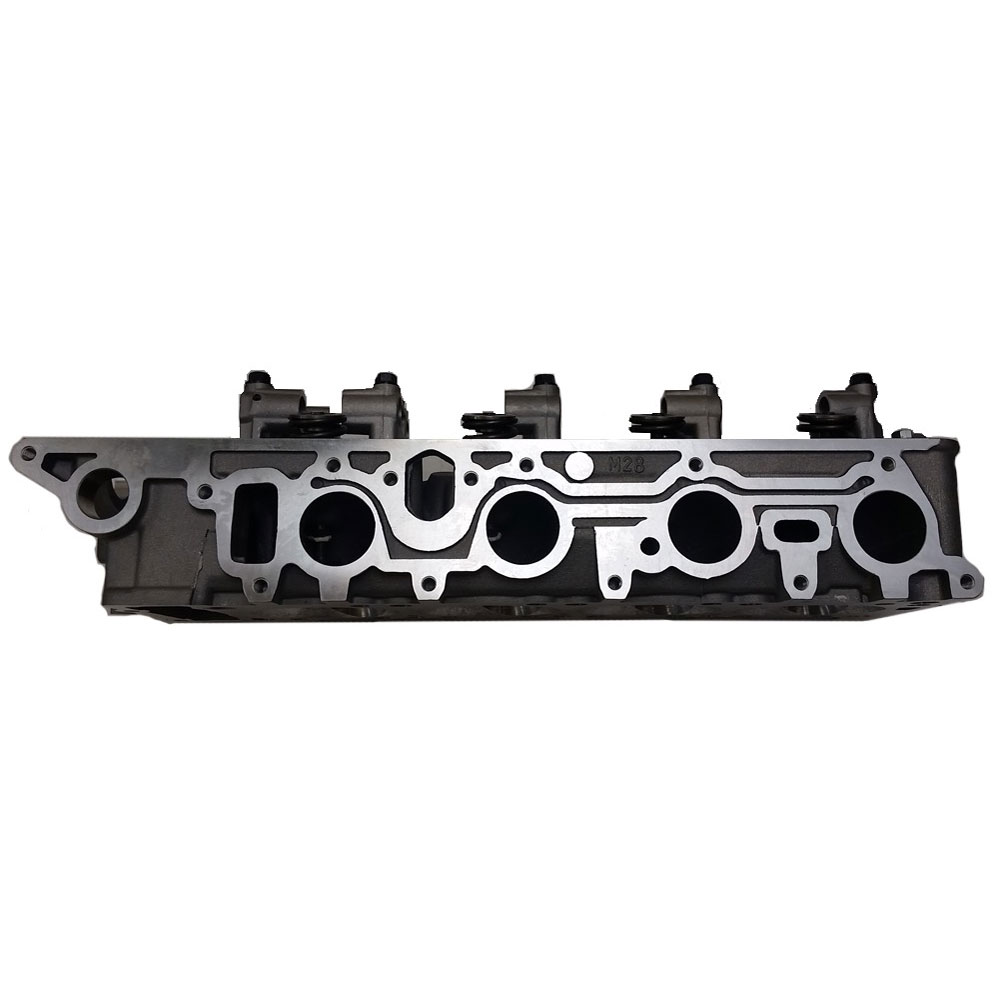
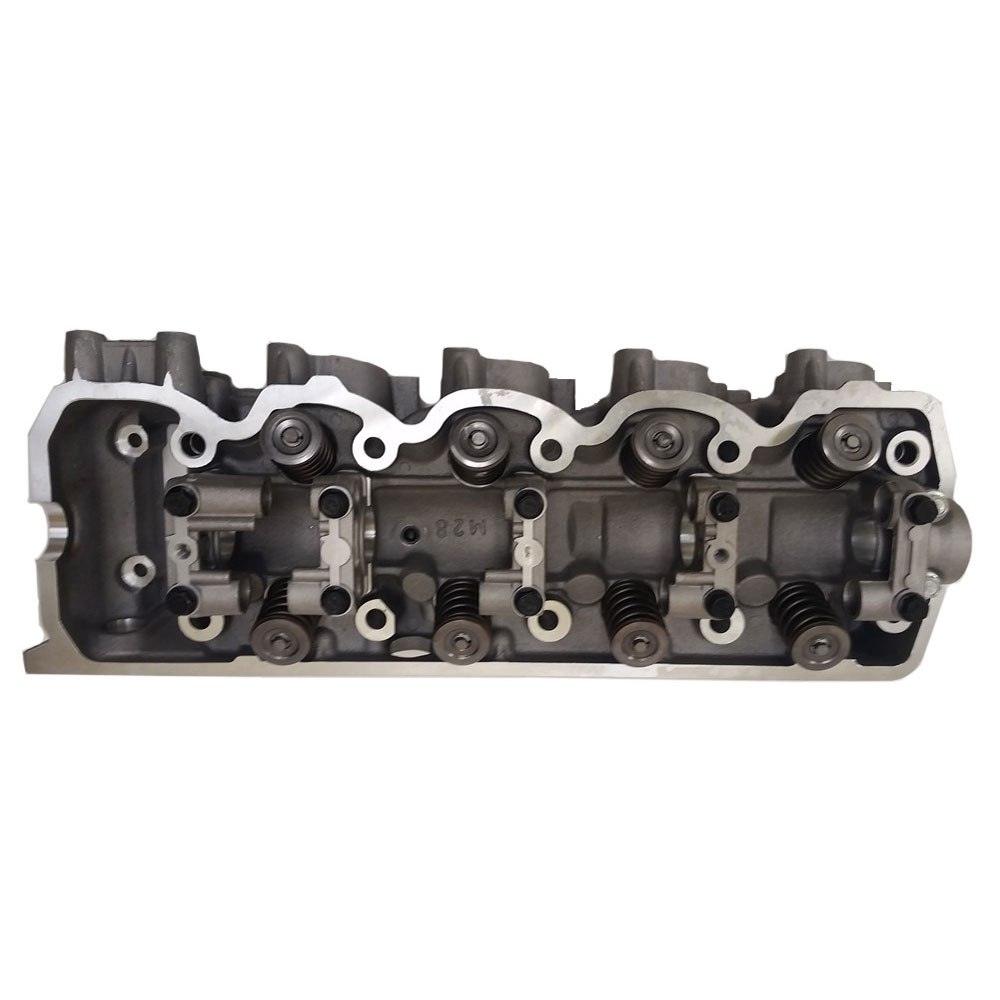
EngineQuest Cylinder Head Assembly CH154NA; Aluminum for 1981 to 1989 Chrysler, Dodge, Mazda, Mitsubishi, Plymouth D50, Arrow Pickup, 400, Challenger, Sapporo, E Class, Executive Sedan, Executive Limousine, LeBaron, New Yorker, Town and Country, 600, Aries, Caravelle, Reliant, Power Ram 50, Conquest, Caravan, Voyager, Mini Ram, B2600, Conquest, Raider, Ram 50, Mighty Max, Montero, Starion 2.6L
$552.96
Part #: CH154NA
Brand: EngineQuest
UPC: 810037940459
Estimated Ship Date: This part is unavailable with no ETA
This item has a $39.60 oversized shipping charge.
See our shipping policy for more details.
Details
- Highest grade of material used in manufacturing
- Thicker decks for greater strength
- Superior port finish for increased flow
- Improved flow design to resist cracking
Product Description
EngineQuest Cylinder heads are manufactured to meet or exceed the OEM specifications. All assembled Cylinder heads are assembled in the USA.
Specifications
- Year:
- 1981 to 1989
- Make:
- Chrysler, Dodge, Mazda, Mitsubishi, Plymouth
- Model:
- D50, Arrow Pickup, 400, Challenger, Sapporo, E Class, Executive Sedan, Executive Limousine, LeBaron, New Yorker, Town and Country, 600, Aries, Caravelle, Reliant, Power Ram 50, Conquest, Caravan, Voyager, Mini Ram, B2600, Conquest, Raider, Ram 50, Mighty Max, Montero, Starion
- Engine:
- 2.6L
- Material:
- Aluminum
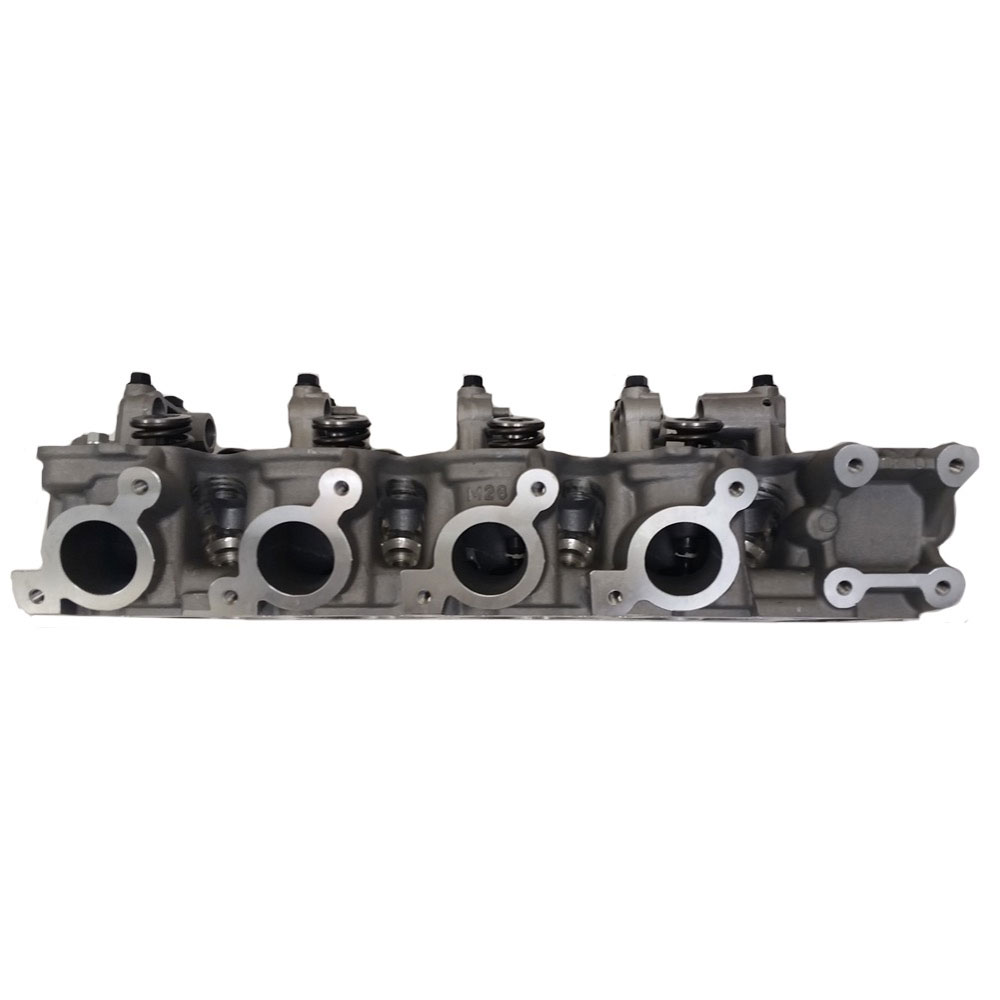
- Intake Valve Diameter:
- 1.810 in.
- Exhaust Valve Diameter:
- 1.490 in.
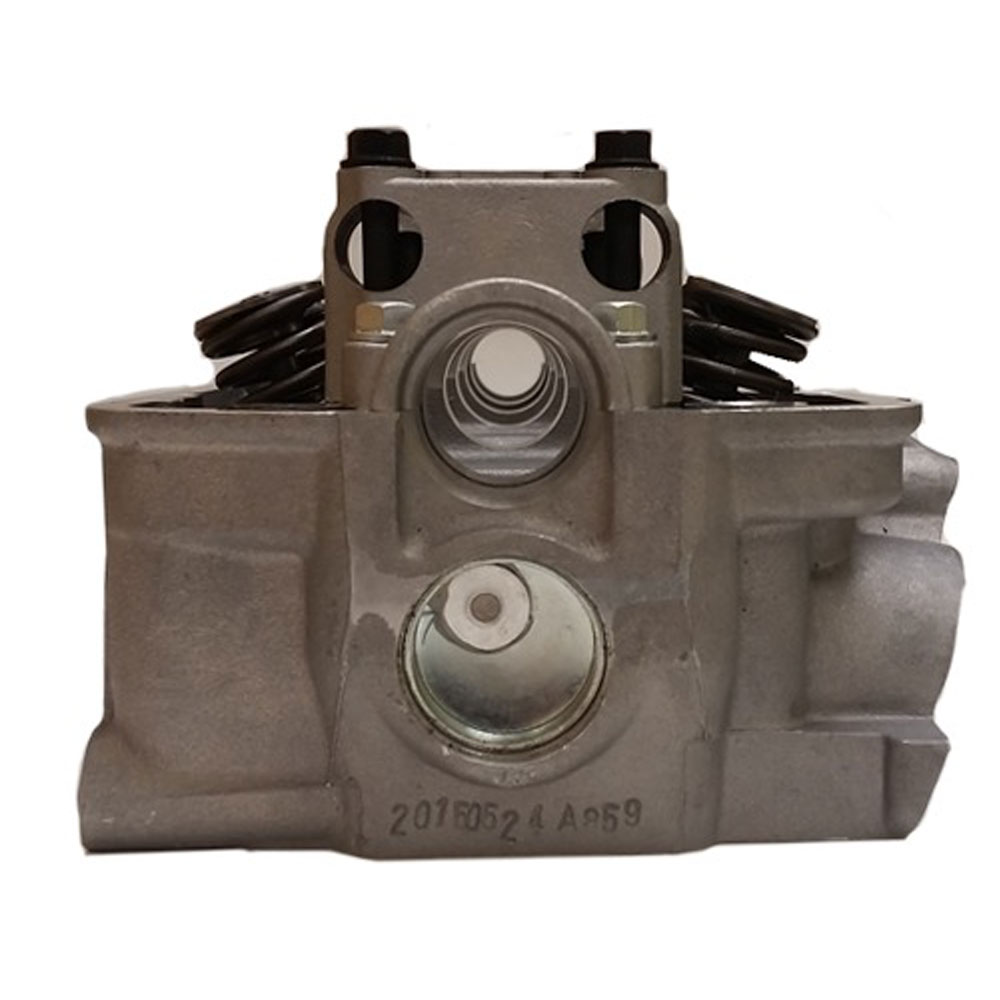
- Notes:
- Open chamber
- Quantity:
- Sold As Each